How to Manage Content & Images on WordPress Site
Let’s Manage WordPress
In this tutorial, we will be going to show you how to manage content and images on WordPress. WordPress is a CMS that allows a user to publish posts and pages on their website and include images in it. It’s really simple and we will be explaining these steps in detail to help you out in getting your content organized and published write away from the very beginning.
Login to your WordPress account
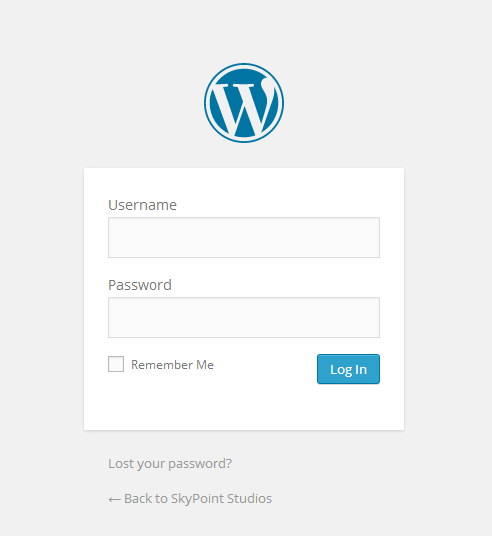
Before you could published anything on your site, you need to login to your site’s WordPress admin. For that you need to follow the steps below
- Write your website’s address in the address bar and after the address, type “/wp-admin” without the quotes. For example, it will look something like this http://yourwebsite.com/wp-admin.
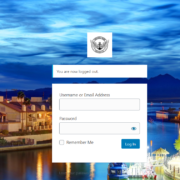
- Hit Enter and you will see a page similar to the one shown below
- Enter your credentials and hit Log In.
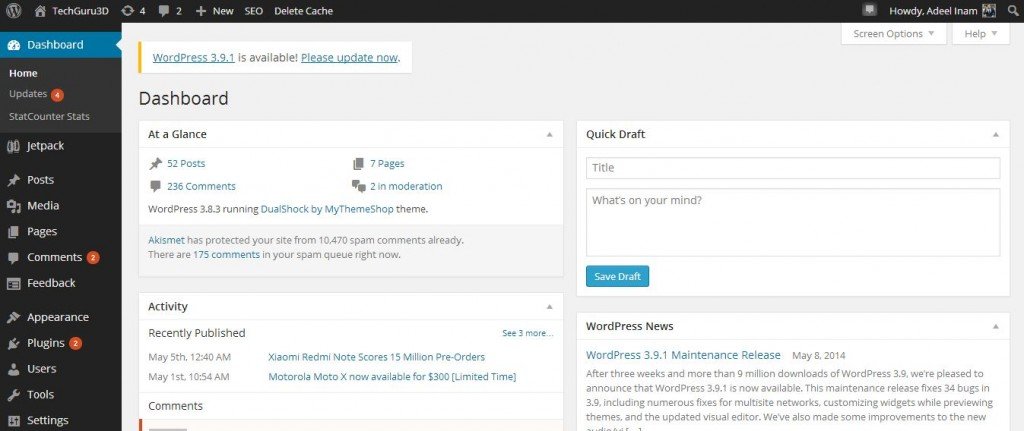
- Now that you are logged in, you will see the Dashboard of your site/blog just like shown in the picture below.
How to write Posts
Now that you are logged in, you can start publishing content on your site. First off, we will show you how to write a Post and publish it.
- From your Dashboard, look on the left hand side menu. There you will find an option named Posts. When you hover over your mouse to that option, it will open a sub menu that will look like the one shown below.

- Here, click on Add New and you will be presented with a new window. (posts – step 2 image)
How to write/add Pages
- From the Dashboard, hover your mouse over the Pages options and click on Add New.
- It will open a new window where you can add Pages to your site/blog.
How to edit Pages and Posts
- You can see that there are quite a lot of editing options available at the center.
- Add Media – allows you to add pictures to your posts and pages. When you click on it, it will show you the following window.
- There are two options available here
- Upload files – allows you to upload files from your computer
- Media Library – allows you to select from the already uploaded images on your site
- Title – write the title of your post.
- Editing options menu – There are a lot of options available here. Majority of them resembles a lot like Microsoft Word.
- Editor – the blank space visible right in front of you. Here you will write the detailed info about the title/topic you have chosen.
- On the right hand side you will see the following section Publish. It has the following options that you can use to deal with your post.(posts- step 4 image)
- Save Drafts – will put your Post into drafts without publishing it
- Preview – will open a preview of the post in a new window. This will help you see how the post would look like before you publish it.
- Status – the current status of your post. When you publish it, it changes to published.
- Visibility – sometimes, you need to make a post hidden from the general audience but want to make it visible for personal use. You can do that from this option
- Publish Immediately – will publish the post immediately after you hit the Publish Button. Edit it to schedule your post to publish on a later date or another time.
- Move to trash – will move the post to trash.
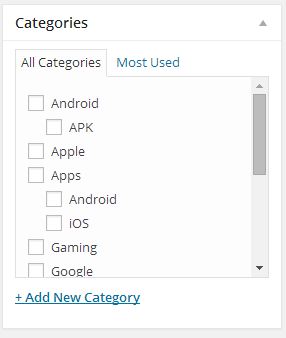
- Right below the Publish section, you will see Categories section. This section will only be visible for Posts but not for Pages.
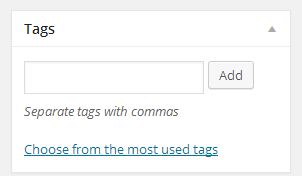
- Right after the Categories section, you will see Tags section. Here, you can enter tags so viewers can quickly identify what type of content is written inside the Post. This section will only be visible for Posts and not for Pages.
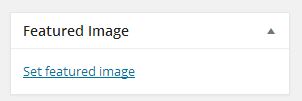
- The last section on the right hand side will be Featured Image section. This section allows you to select one main image for your Post or Page that will be shown to the user before they open it.








Leave a Reply
Want to join the discussion?Feel free to contribute!