Branding WordPress is a good idea for websites that will be used by a team or for a corporation. In today’s article I’m going to cover a plugin that allows quick configuration of the branding on the WordPress backend.
BEFORE:

AFTER:

The first step is to install the plugin called White Label CMS. Once the plugin is installed, the menu for White Label CMS is under the Settings tab on the main left menu.
Click on White Label CMS and it will walk you through a setup menu. I usually skip the first step for Developer and go right onto the WordPress branding. On the first page I like to click ‘hide the WordPress logo’ and ‘hide WordPress version’. Next, put the admin bar logo in by uploading a logo from your library or from your desktop.
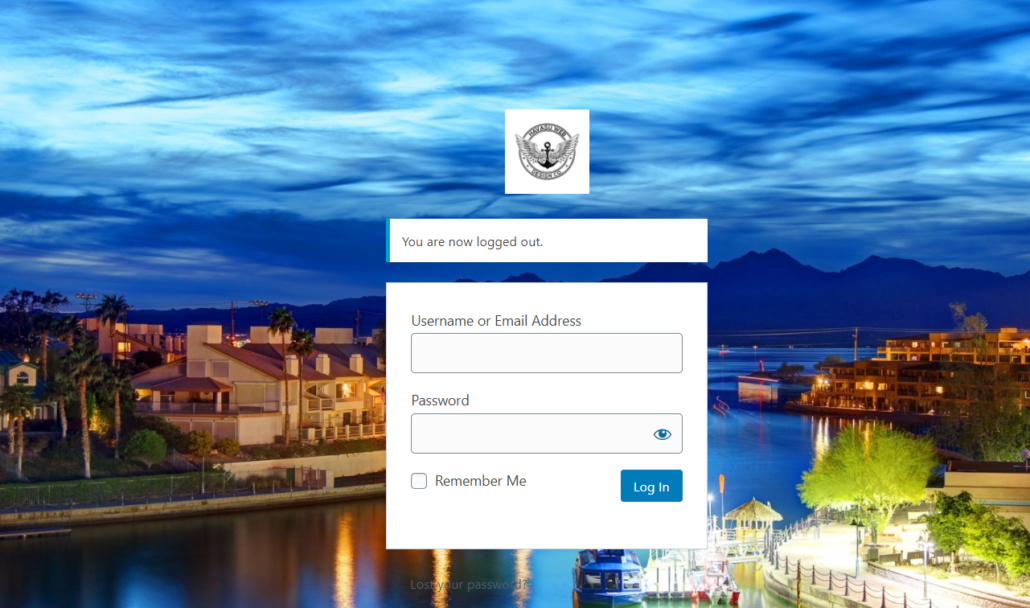
Moving along, we’re gonna move to the login which is the item in the top menu. To start, pick the login logo, then the background image. Hit the save button and then we’re going to log out to see how the new login screen looks.
You should now be able to see the background image and the logo that we have uploaded. Log back into the site and now you’ll be able to see in the upper left-hand bar there is the logo there that we added priorly. That’s all there is to doing WordPress branding!
Have any questions about how to get WordPress customized? Hit me up on my contact page –>
Read Next: Changing WordPress Login


Leave a Reply
Want to join the discussion?Feel free to contribute!