Setting up Wordfence is a process that is rather easy but does need to be done before the app will work properly. Wordfence is a plugin that helps to protect from attacks to the WordPress database.
If you’ve had a WordPress website for awhile you will know that attacks are rather common and need to be prevented as much as possible. Once the website is infected, it can be tricky to try and clean it up and get it restored.
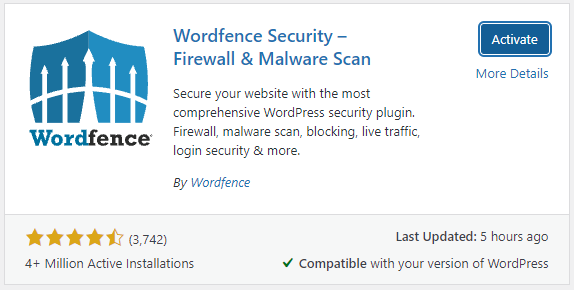
I certainly can help you if your website is hacked and get it cleaned up, but the theme of this article is to prevent that from happening in the first place. The first thing to do is to go to the plugins market and download Wordfence.
Just put Wordfence in the search bar and download the first result that comes up. Once Wordfence is installed and activated, we want to go ahead and set it up. It will add an item at the bottom of the main menu on the left hand side called Wordfence.

Hover over that and select Firewall from the drop-down menu, which is the second option. When you’re in the firewall area, what you’ll notice is that it’s at 35% complete so far.
We want to increase this, so first off click on Manage WAF. Then on this page we want to click on the blue button that says Optimize the Wordfence Firewall. This will pop open with a menu and a button that says Download Htaccess File, click on this.

Once the file has been downloaded, you can now click on the blue Continue button in the lower right hand corner and it will give you a message saying installation successful. You can now close that window.
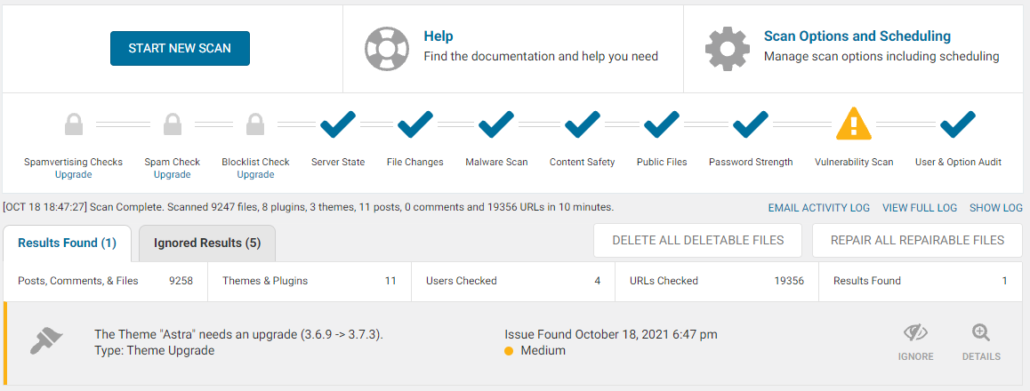
Now notice that the firewall is at 55% complete. This is good enough for now. The next thing we wanna do is click on Scan from the main Wordfence menu . Then click on the blue button that says Start a New Scan.
This will scan all the files on the website looking for threats or issues. The scan can take a little while depending on how big the website is to complete. Once the scan is complete, we want to see if there’s any issues that need to be addressed.
If the website is hacked, this is where it will show all the files that have been added that are viruses. You can use this tool to go through the website files (on your servers file manager) and remove them one by one. After removing, re-scan again to see if there are any malicious files left.

Typically there is not an infection though and after the scan is complete, you can be done with setting up Wordfence. It will continue to actively protect the website from threats and hacks.
Have a question about how to get Wordfence working properly or have an infection and need some help cleaning it up? I’d be glad to help! Fill out the contact form located here and I will get a hold of you soon as possible.
Read next: Stopping Spam Bots


Leave a Reply
Want to join the discussion?Feel free to contribute!